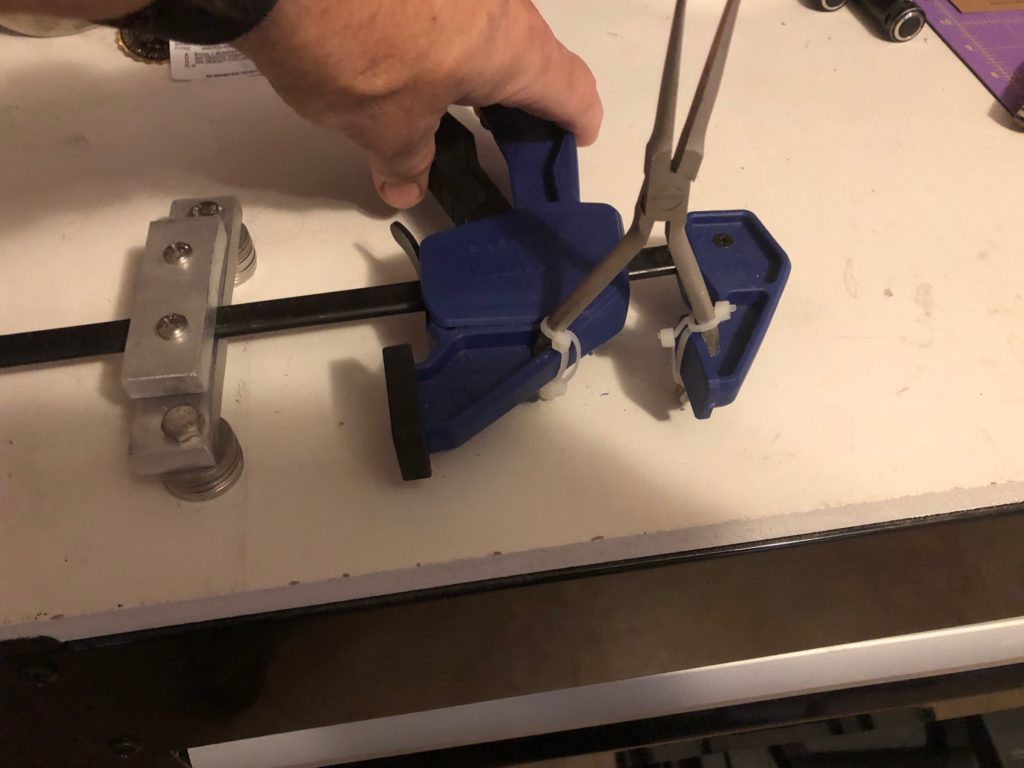
Here I provide clearer detail on my Bench Jig for attaching cuffs.
This is a smaller work clamp from my local BOX store. Very carefully remove clamp unit and reverse is position on the clamp. Now operating the clamp OPENS the distance, pulling the plyer’s open
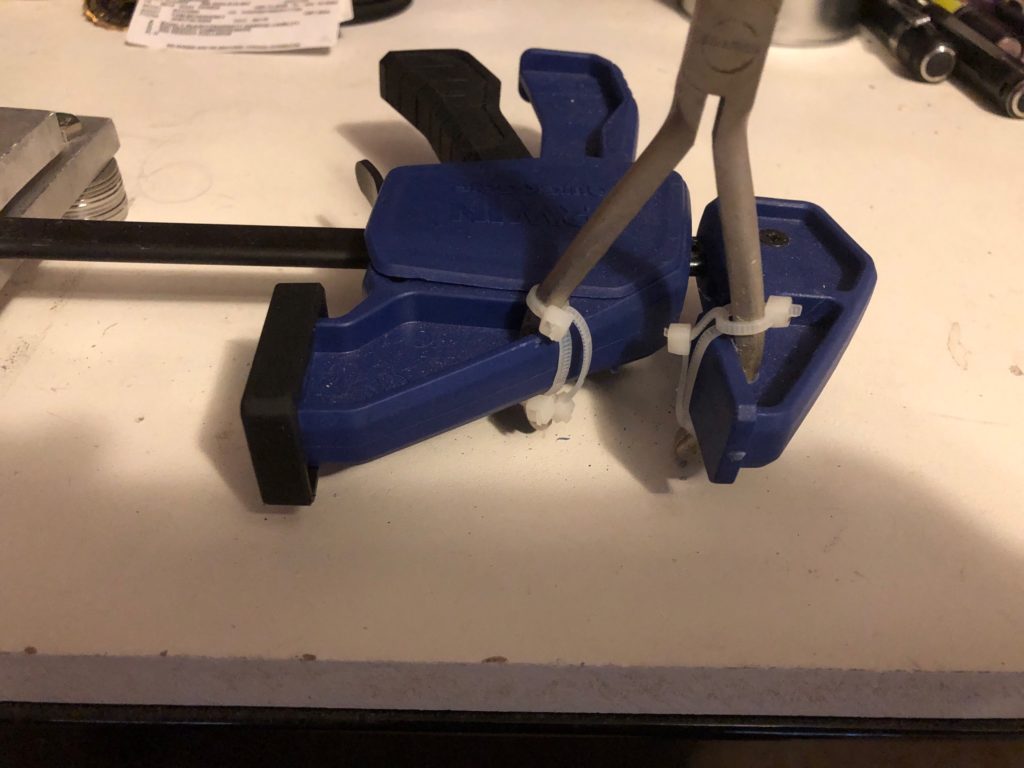
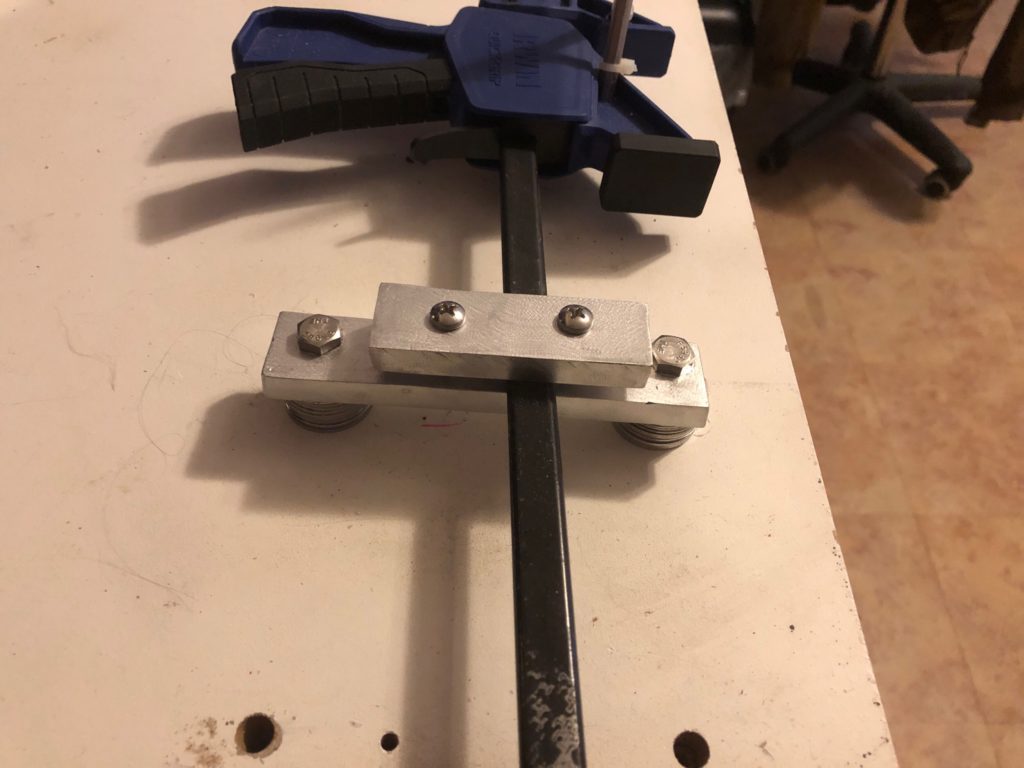
Here are some details on supporting the clamp. You could clamp the small clamp to any work table, I chose to make this Semi permanent.
Cut 2 strips from aluminum plate stock. Drill screw holes in the short strip, place on larger strip, and use center punch to mark position. Drill and tap. Now the clamp bar can be clamped solid between the two pieces. Another pair of holes, washers, and bolt / nut to secure to table.
With the clamp released the plyers are closed. Now is the time to slip a section of tube over the plyers ends.
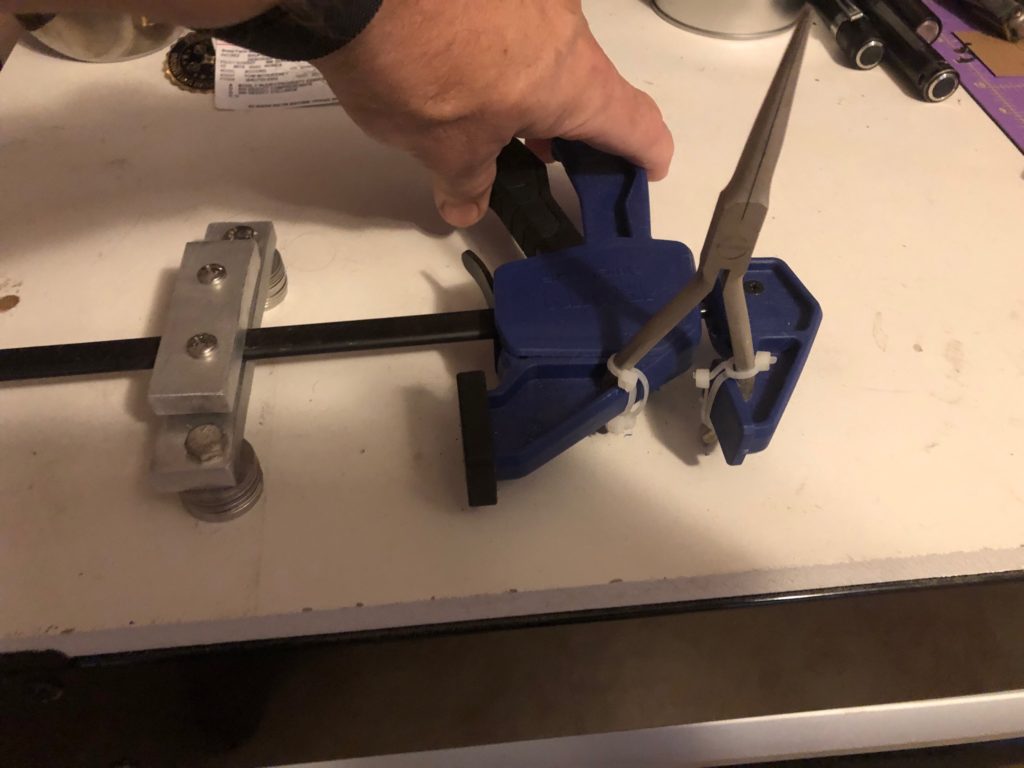
Operate the clamp and the plyers open.
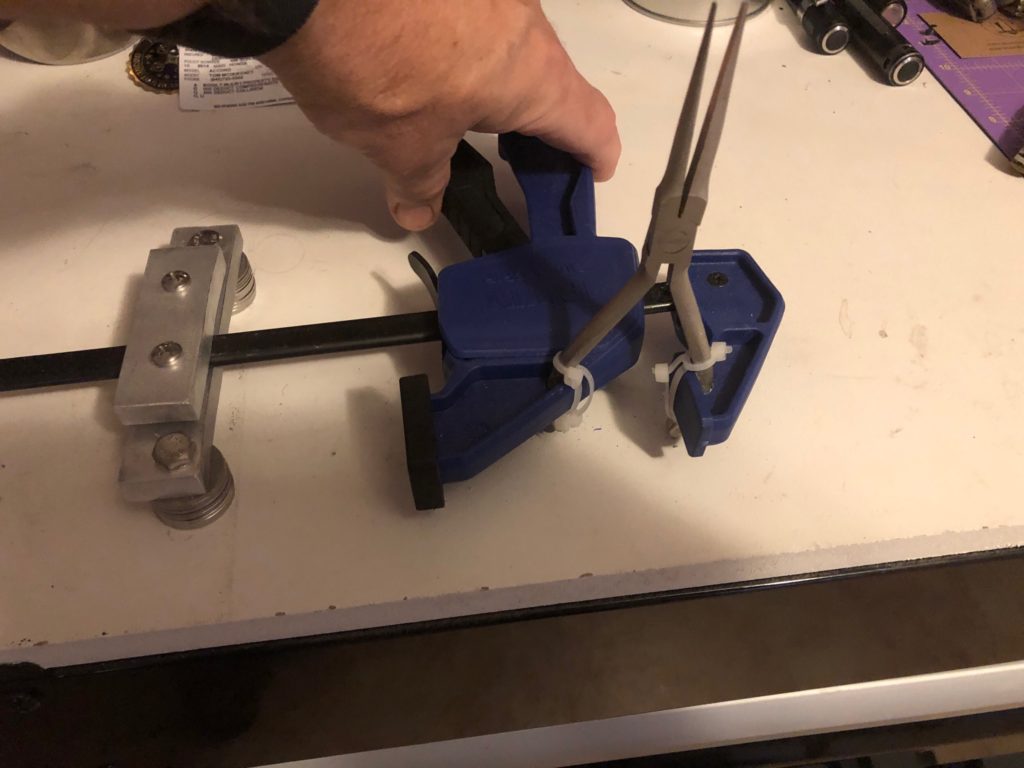
Another squeeze and the plyers open more. At this point you should be able to insert folded pouch
